Content Manager
This tutorial will walk you through the step up and Create a library of content that can be added to modules while creating courses.
1. Add Content
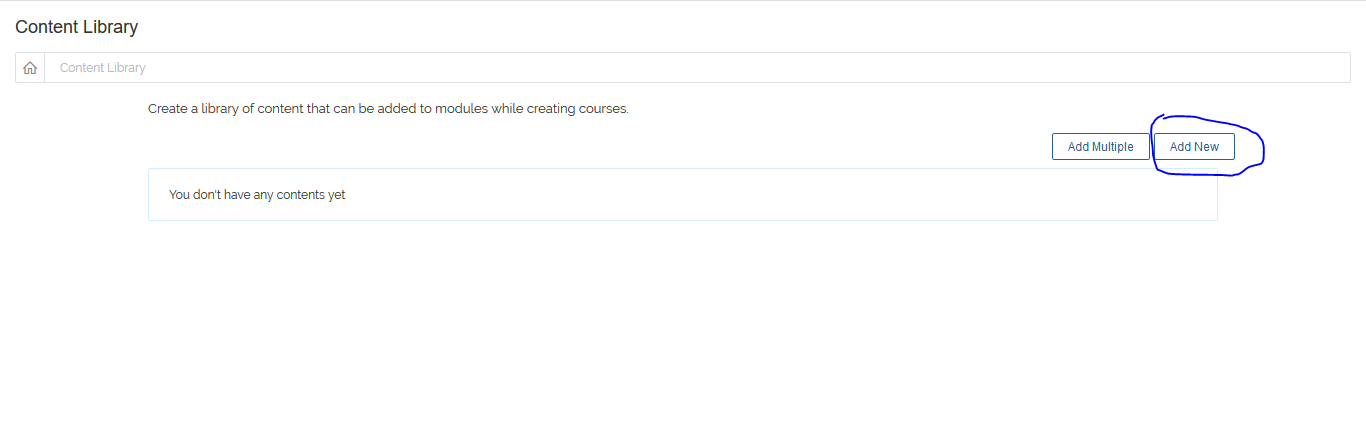
This feature enables Administrator/Tutor to set up a library of content. To add contents, on the Menu, go to
Content Manager > Content List. On the content library page, click on Add New.
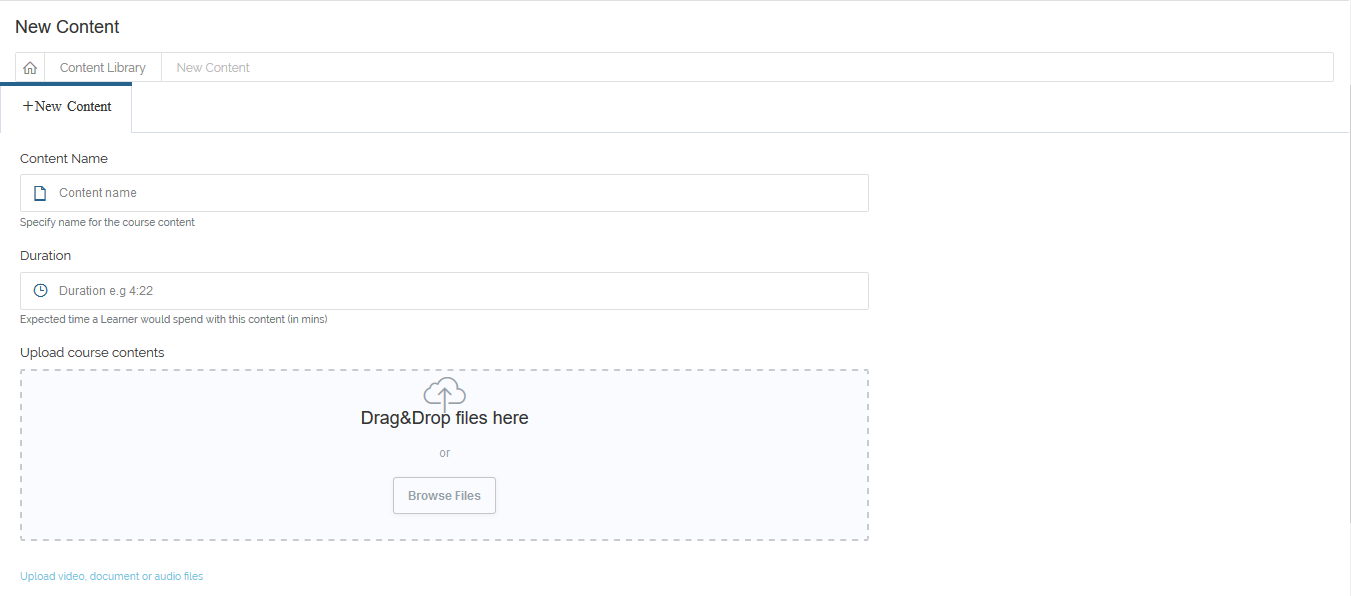
 On the new content page, add the content name and duration in the appropriate boxes, drag/drop files from your PC to the upload course contents pane
or click Browse Files to add contents, enter tags separated by commas in the tags box and check Check to allow content's download field to make the contents downloadable. Click on
Save button to save content.
On the new content page, add the content name and duration in the appropriate boxes, drag/drop files from your PC to the upload course contents pane
or click Browse Files to add contents, enter tags separated by commas in the tags box and check Check to allow content's download field to make the contents downloadable. Click on
Save button to save content.

2. Upload Content
This allows for single or multiple upload of file. To upload, on the Menu, go to Content Manager > Upload Content.
On the upload file page, drag/drop files from your PC to the upload pane or click the pane to add contents, your uploads are then automatically saved.

3. Map Contents
This particular feature allows contents to be mapped to topic. To map content, on the Menu, go to Content Manager > Attach topic to existing contents.
On the content page, select course name, module name, topic name and select content(s) to be mapped from the select content drop down. Click Map Contents to complete
the process.
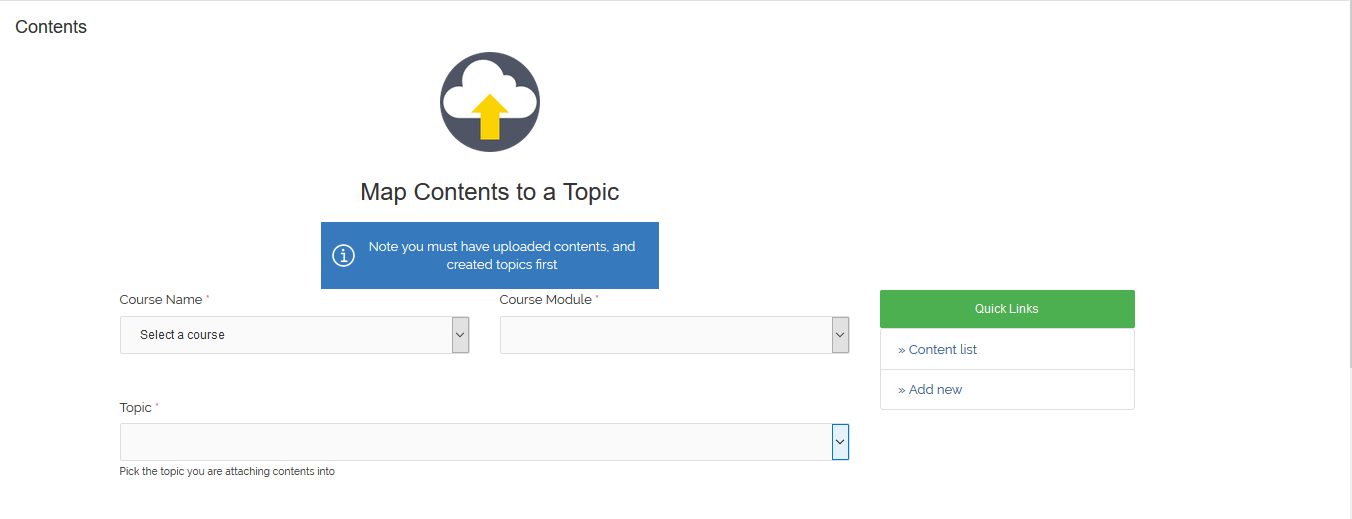

You must have uploaded contents, and created topics first